11 Simple Steps To Dye Your Hair At Home Like A Pro
Save on salon trips and learn how to give your hair a color transformation by yourself.
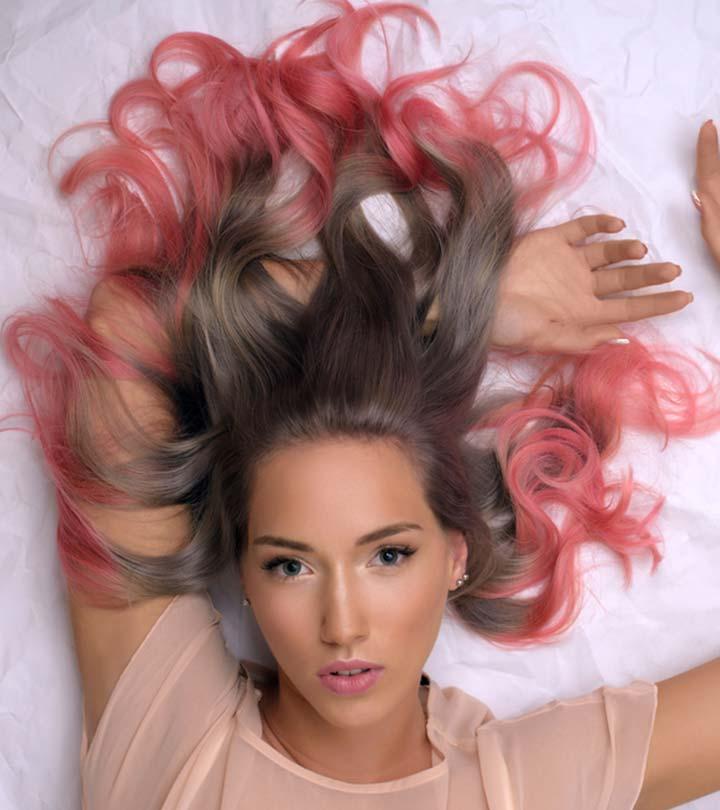
You have come to the right site if you’re looking for tips on how to dye your hair at home.
The best color in this whole world is the one that looks good on you. – Coco Chanel
Many of you will agree that sitting at a beauty parlor for four hours and spending so much money can be tedious and costly. Therefore, dyeing your hair at home is an excellent way to solve the problem. It is enjoyable to spend some time deciding on the correct color, searching for hair coloring tools, and looking for a trendy yet affordable brand. It may appear not easy initially, but you will gradually come to enjoy it. The simple steps for dying your hair at home are outlined below. Keep scrolling!
In This Article
How To Dye Your Hair At Home
A. Getting Ready
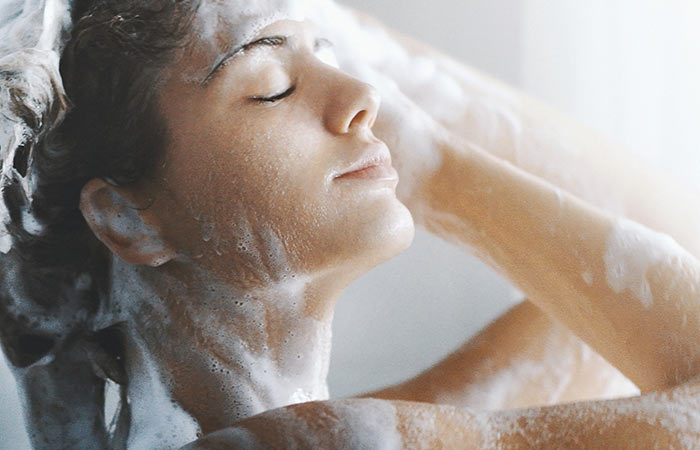
1. Wash Your Hair Before Dyeing
iStock
It is essential to wash your hair 24 to 48 hours before dyeing. This allows the natural oils that are secreted during this time to act as a barrier against irritation and helps in binding the color to the hair strands efficiently. It is best not to condition your hair as it could obstruct the process of color binding.
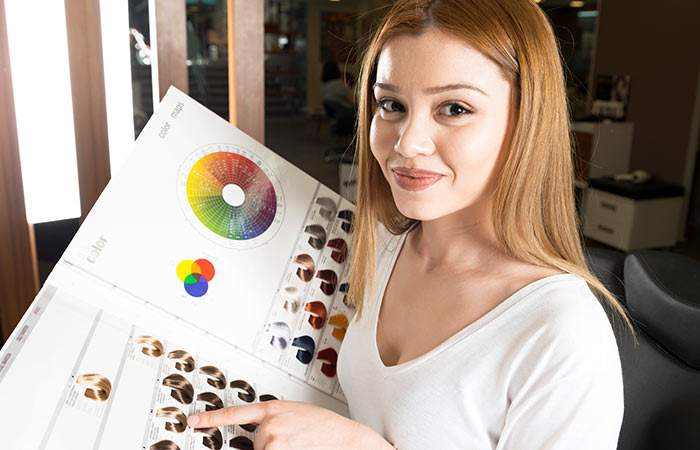
2. Pick A Color
iStock
This is probably the most stressful step in this process. Picking the perfect shade from the vast spectrum of colors can be overwhelming. So, unless you are a regular experimenter, it is best to go for a color not more than two shades darker or lighter than your original hair color.
Your hair color should also complement your skin tone. For instance, if you are fair skinned, avoid dark raven colors and opt for honey blonde or auburn shades instead. Similarly, if you have a dark skin tone, avoid going for light hair colors all over your head and opt for deep honey or cinnamon highlights.
Note: It is best to go for a semi-permanent dye as it lasts for about 20-26 washes and does not damage your tresses as much as a permanent dye.
3. Cover Yourself With A Color Cape
Shutterstock
Dyeing your hair at home can get messy. So, purchase a dark-colored cape to catch those spills and protect your skin and clothes. You can wrap the cape around your shoulders before beginning the coloring process.
4. You Need To Brush Your Hair
Shutterstock
Knots and tangles prevent the dye from spreading evenly, resulting in patchy hair color. To get rid of all knots and tangles, brush your hair thoroughly.
5. Coat Your Hairline, Ears, And Neck With Vaseline
Shutterstock
Apply Vaseline (or any petroleum jelly) along your hairline to prevent staining your skin. This step is essential as the color can stay on your skin for weeks despite several washes.
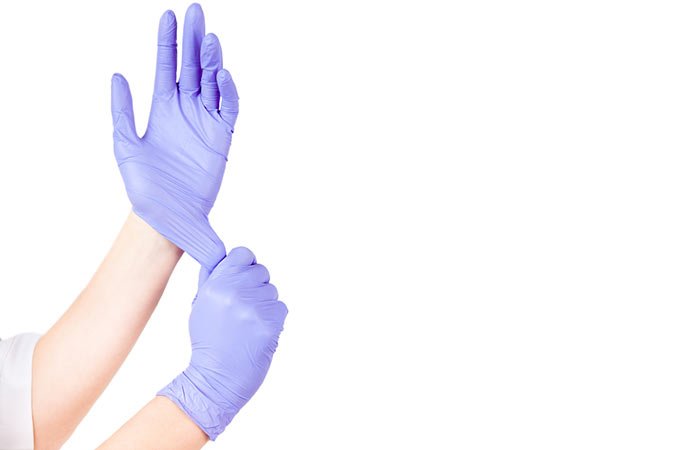
6. Put On Some Rubber/Plastic Gloves
Shutterstock
If the hair color kit does not include gloves, buy a pair from a local drug store. Make sure you wear gloves while coloring your hair as they protect your hands from getting stained and keep your sleeves clean.
Done prepping your hair? Now it’s time to gather all your hair coloring equipment and jump right into it !
B. Things Needed And How To Apply Hair Color
1. Use A Bowl To Mix The Dye
Shutterstock
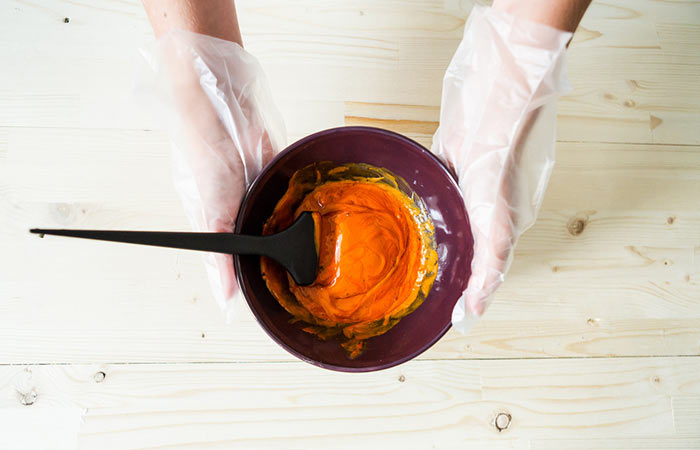
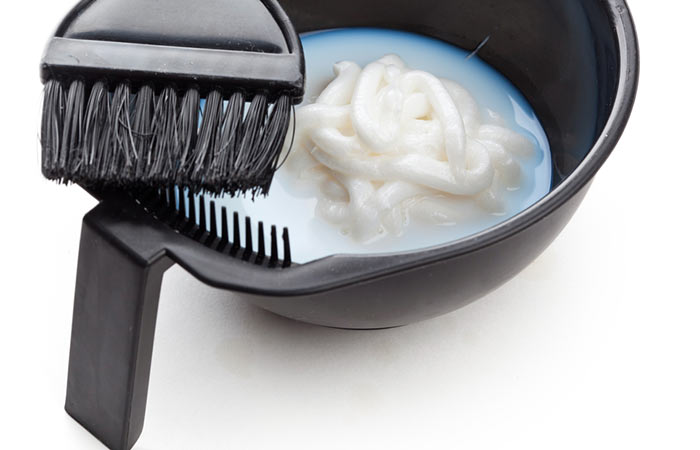
Using a mixing bowl is a better choice than using the bottle that is usually included in hair coloring kits. With the help of a dyeing brush, you can mix the dye effectively and apply it to your hair much more easily.
2. Use A Hair Developer
Shutterstock
If you are unaware of the purpose of hair developer, let me enlighten you. A developer is primarily made of hydrogen peroxide, which helps in opening up the hair shafts and binding the color to the hair cuticles. This makes the dyeing process more effective as the color seeps in and stays on for a longer period.
Developers come in different volumes. The most common type is 20 volume developer. If you are a first-timer, you can use this as it contains 6% hydrogen peroxide, which is safe to use on any hair type.
3. Section Your Hair Using A Comb
Shutterstock
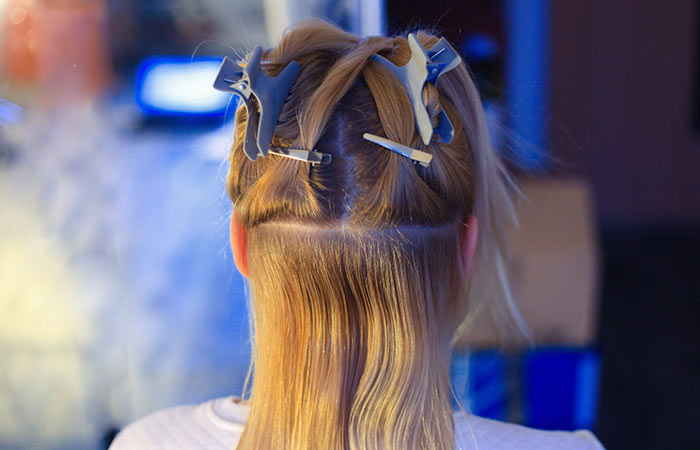
Separating your hair into sections will help you cover every hair strand without leaving any patches. Ideally, you should divide your hair into four sections. It is best to begin dyeing the front sections first as they are the largest and need extra processing time. Using long hairdresser clips will be helpful in holding your hair.
4. Apply The Dye
Shutterstock
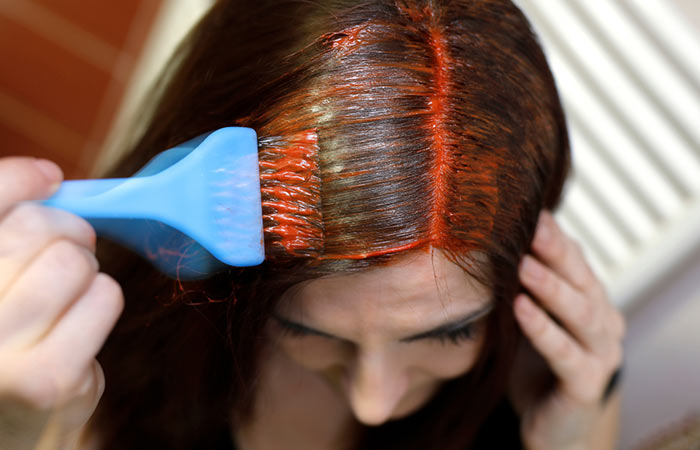
Always start from the roots. Apply the dye from the roots to the tips and brush the length of your hair using a wide-toothed comb. While combing, make sure to drag it down till the end to remove excess dye. This helps in distributing the product evenly. Once you are done with this section, you can roll it up and fasten it to your head with a clip. Continue this process until the first section is fully saturated. Move on to the next section and repeat the process.
5. Set A Timer
Setting a timer enables you to leave the color on for the instructed amount of time. Follow the instructions carefully and do not rinse off before the minimum time or go past the maximum time allotted.
Tip: You can use some heat (i.e., use a blow dryer) to help the color penetrate your hair.
How To Highlight Your Hair
Shutterstock
This might come as a surprise, but if you need subtle highlights, you can use a clean mascara brush. Highlighting your hair follows a similar process as dyeing. You need to blow dry your hair and brush it. Section your hair and start highlighting the bottom layers first. Try not to follow a particular pattern of application. The best highlights are always messy and asymmetrical. Leave the color in for the indicated amount of time before rinsing it off.
Tip: Finish off by applying clear hair gloss to help boost the highlights.
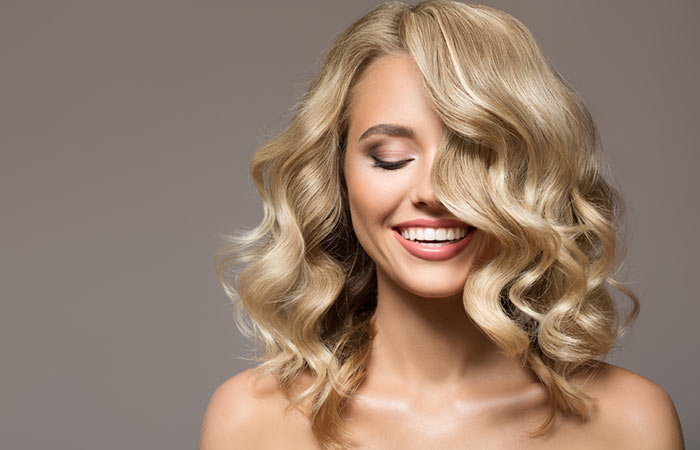
How To Dye Your Hair Blonde
Shutterstock
A word of advice! If you are planning to go blonde, it is recommended to get it done professionally. It is a risky game, and you might end up damaging your hair.
However, if your hair is naturally light, you can go for it. Start by applying the color from behind the crown and away from the roots. Massage until every hair strand is soaked in the solution. Wait for 30 minutes. Check how much your hair has lightened and start applying the solution to the roots. Once you are done with all the sections, you can let it sit for 30 minutes. Rinse the color off with warm water and shampoo and condition your hair.
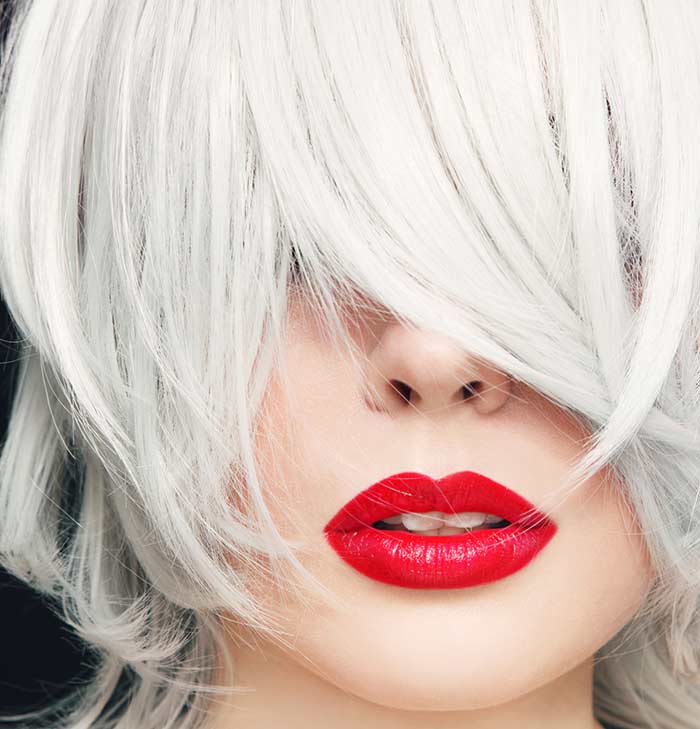
How To Dye Your Hair Silver
iStock
The first step in dyeing your hair silver is bleaching it. Follow it up with the application of purple toner to remove any brassiness. The steps involved are similar to that of hair dyeing. You can apply the color in a structured manner, working through the sections. Let the color sit for the indicated time and rinse off with warm water.
Tip: Use a sulfate-free shampoo.
How you rinse off the hair dye is just as important as how you apply it. Here are a few simple steps you need to follow when washing off your hair color.
C. Time For Rinsing
Shutterstock
1. Use A Towel To Wipe Off Dye From Your Skin
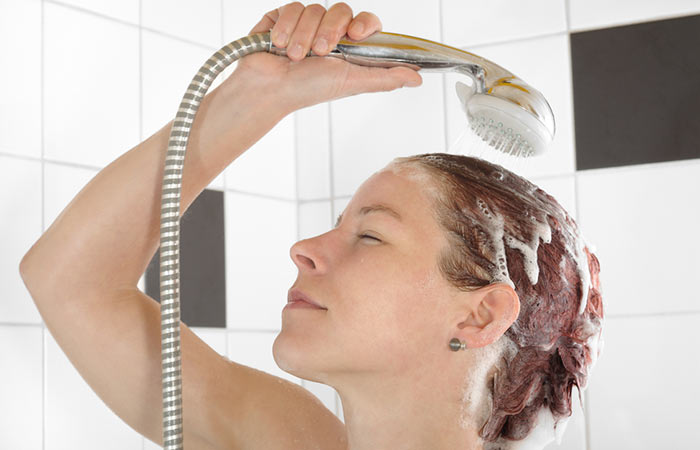
Wipe off the dye stains from your forehead, neck, and ears with a wet cloth. Cover your hair with a shower cap to retain the moisture and heat. This will help the color bind to your hair much more effectively.
2. Wait Until The Time Is Up
Rinse the color off your hair using warm water. Do not use shampoo. Massage the roots with your fingertips and keep rinsing until the water runs clear. Finish off with a sulfate-free conditioner.
3. Shampoo And Condition Your Hair
After rinsing off the hair dye, wait for at least an hour before shampooing your hair. This helps the hair color get absorbed into the hair shafts. You can then go ahead and shampoo and condition your hair.
4. Dry Your Hair
You can either use a dryer or let your hair dry naturally. If you are using a blow dryer, make sure you use it on the lowest heat setting. After your hair has dried completely, you can go ahead and style your hair to your heart’s content.
Lastly, in case you are unhappy with your new hair color and want to get rid of it, use a color remover, wash your hair with a clarifying shampoo, or head on to a professional salon.
Coloring your hair at home may look intimidating initially. While it requires skill, you can acquire it by following some tips. Also, read all the instructions carefully and check how long it will take to dye hair. It is essential to wash your hair one to two days before dying, as this acts as a barrier against irritation. More importantly, don’t get disheartened if your first coloring experience did not go well. Take your time and try once again.
Frequently Asked Questions
Do you dye hair wet or dry?
This depends on how deep you want the coloring to be. You can dye your hair while it’s dry if you want deeper and more visible colors. If you want to go more subtle, you can dye your hair while it’s wet. This will give the color a transparent appearance.
What happens if you leave on hair dye too long?
Leaving hair dye on your hair for too long can strip your hair of moisture, leaving it dry and prone to breakage.
What should I not do before dyeing my hair?
You should not shampoo the day you are coloring your hair, choose the wrong hair color, or use the wrong developer and tools to dye your hair. Ensure that you spend time researching and understanding how dyeing is done before you do it.


