A Simple Nail Art Design – A Step-By-Step Tutorial
Level up your manicure and nail art game with the easy-to-follow guide.
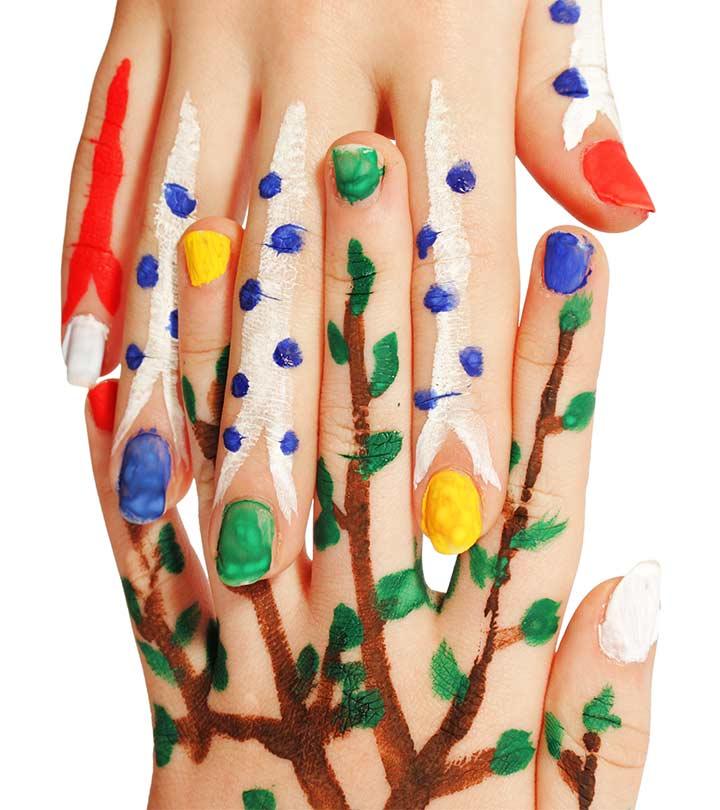
A good nail art design can instantly amp up your manicure. Women and girls of all ages love nail art. Experimenting with different nail colors and designs is a great way to sport attractive nails.
There are various nail arts available for different looks. From simple, elegant designs to playful, funky ones, nail art is for all. There is nail art for all lengths of nails — short, medium, or long. In addition, there are several easy nail art designs that you could do by yourself at home without prior expertise.
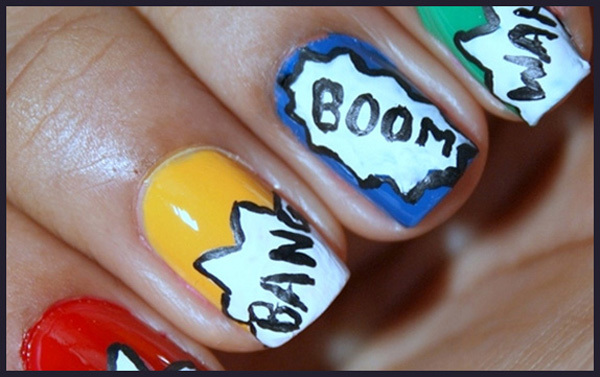
In this article, we have mentioned one design with a step-by-step tutorial to help you design short nails. It is the colorful comic pop art tutorial, which is absolutely doable in the comfort of your home. You will just need a few basic nail colors, a topcoat, and some patience!
In This Article
Products You Will Need:
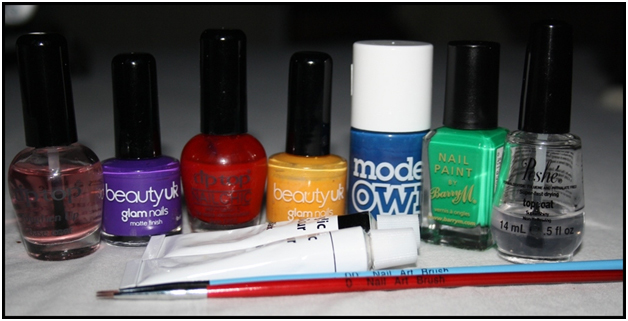
- A base coat to form the first coat on your nails
- A top coat to apply over the base coat
- Different and bright coloured nail polishes of your choice
- Black and white acrylic paints
- Nail art brushes or a thin brush to create nail art designs.
Remember: Acrylic paints will become long lasting and water proof when you apply a top coat
Stepwise Procedure:
Step 1:
Apply a base coat
Step 2:
Now apply 2 coats of each different coloured nail polish on your nails
Step 3:
Let them dry completely.
Step 4:
Apply a layer of quick dry topcoat as this will help in removing the acrylic paint without disturbing the nail colour.
Step 5:
Take a white acrylic color and mix some water in it
Step 6:
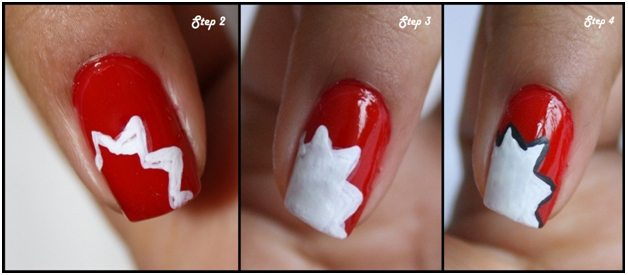
With this mix, draw some spikes on your nails (this is marked as step 2 in the below picture. Fill in the spikes as shown in step 3.)
Step 7:
Finally use a thin brush to outline the spikes with a black nail color (marked in the image as step 4).
Step 8:
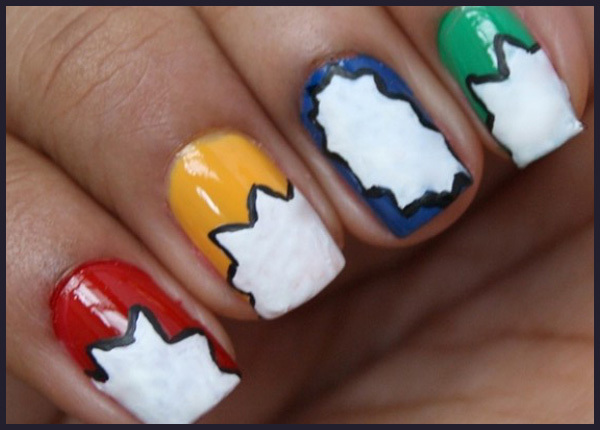
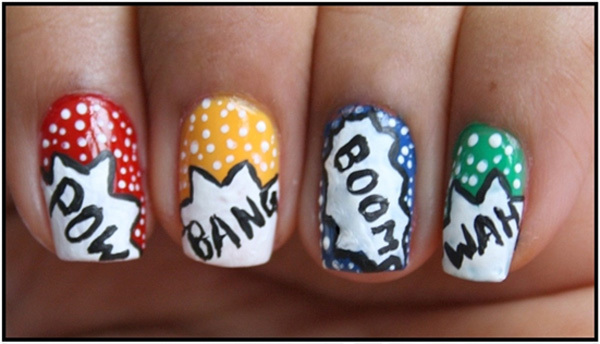
Follow this pattern on all your nails. You can be as creative as you can and create different designs too. Here is how it will look once you have created and filled in the spikes:
Step 9:
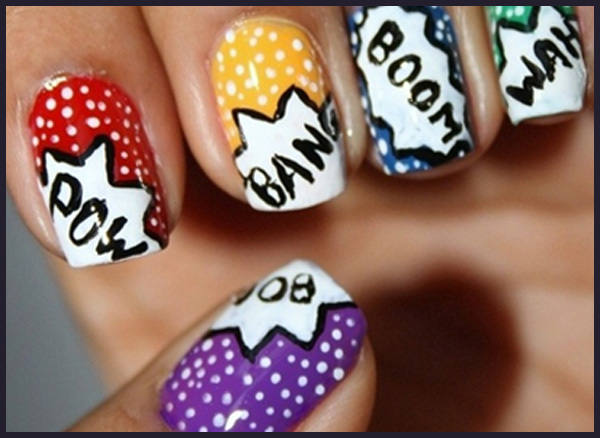
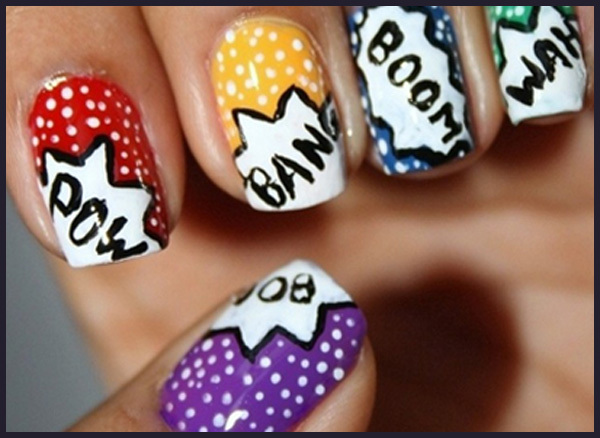
Now write some pop words inside the explosions like BOOM! WAH, BANG, Ka-Pow, CRASH! Of course you can write any words of your choice.
Step 10:
Randomly place small white acrylic dots in the remaining area.
Step 11:
Do the clean up around the nails using water or a nail polish remover.
Step 12:
Next, apply a layer of top coat.
And Voila you have a funky and attractive nail art for your short nails! Here is how it looks! Hope you will surely try this nail art design and don’t forget to tell us all about it.
Nail art is popular among girls and women of all ages. The right nail art design can take your simple manicure to the next level. With the wide range of designs available today, you can experiment away to your heart’s glory. If you thought your nail length was going to be a problem, don’t worry. There are different kinds of nail art suitable for every nail length out there. What’s more, with the right products and our detailed tutorial, you can easily create innovative nail art at home.


